Vadim is a UX designer who made a wooden computer case with his own hands and documented the whole process. Here is his story.
When I decided to do everything by myself, I watched different YouTube channels dedicated to modding and realized there wasn’t much to see. Most of those modders just took old cases, cut, twisted, and glued them all over with some rubber stuff, finally getting some fancy mess. Those few who dared to make a case from scratch usually ended up with different variants of mailboxes or dog houses without any style or idea.
Why wood
Then, I had to decide on the material. I rejected metal at once since I had some experience modding a metal case. Frankly speaking, nothing will come out of it without special equipment and a welding machine.
Plastic, plexiglass, and similar materials were also not options. Plastic parts are too fragile and difficult to surface, bend, and join together. So, I chose wood as the most beautiful, available, and easy-to-work-with material. The idea was to glue the case together from several layers of plywood.
The concept
I studied the form factors of cases, motherboards, video cards, and other components. Then I outlined where the holes and fasteners should be and made the first sketch on paper.
To start with, I had the motherboard in MicroATX format. So, I slightly modified the initial concept and made a model of the case in 3D Max.
Then, I drew the case itself and made the layout of the components I had already purchased. The resulting dimensions of the case were 400x400x200. It would take me 50 layers of plywood to get the required thickness of the case. Why so many layers?! Because I decided to use 4 mm plywood. That was the cheapest option.
![]() When the design was complete, I moved on to the details and had to decide on the best way to put the layers together. I also had to consider the cutouts for the coolers, inputs, outputs, and other parts.
When the design was complete, I moved on to the details and had to decide on the best way to put the layers together. I also had to consider the cutouts for the coolers, inputs, outputs, and other parts.
When the design was complete, I moved on to the details and had to figure out the best way to put the layers together. Also, I had to keep in mind the cutouts for the coolers, inputs, outputs, and other parts.
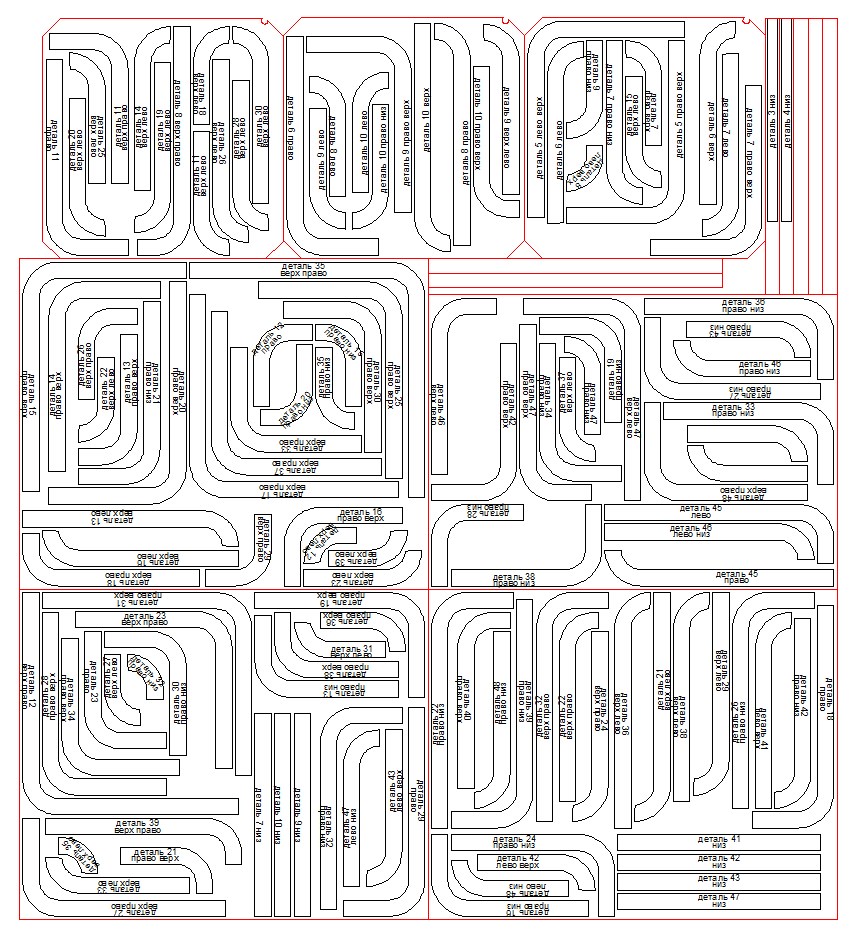
When I measured and drew everything, I had to understand how many plywood sheets I should buy. I wanted to minimize the material costs, so I had to measure everything precisely. It took me a lot of time, but finally, I created a cutting diagram to fit all the parts into a single plywood sheet.
The dusty part of the job
I did all the work at home on a cutting table I made earlier. I also made a sander. It proved to be very handy at the final stage of the project.
I started putting the case together and cursed myself for not buying an 8mm plywood sheet. Things would have been way faster if I did. With 4 mm, it took several months of hard work on weekends.
I cut the plywood sheet into five large pieces. I laid out the parts on each piece so I could cut them out, moving from the edge to the center. The large parts were at the edge of the sheet, while the smaller ones were closer to the center.
Moreover, I laid them in a way that let me cut straight sections with a table saw and finish semicircular sections with a jigsaw. This helped me to minimize the waste.
What did the process look like? I drew a couple of parts on the plywood sheet, cut them out, and evened the edges of the remaining piece of plywood. And then it repeated over and over again: draw-cut-even, draw-cut-even.
Putting the parts together
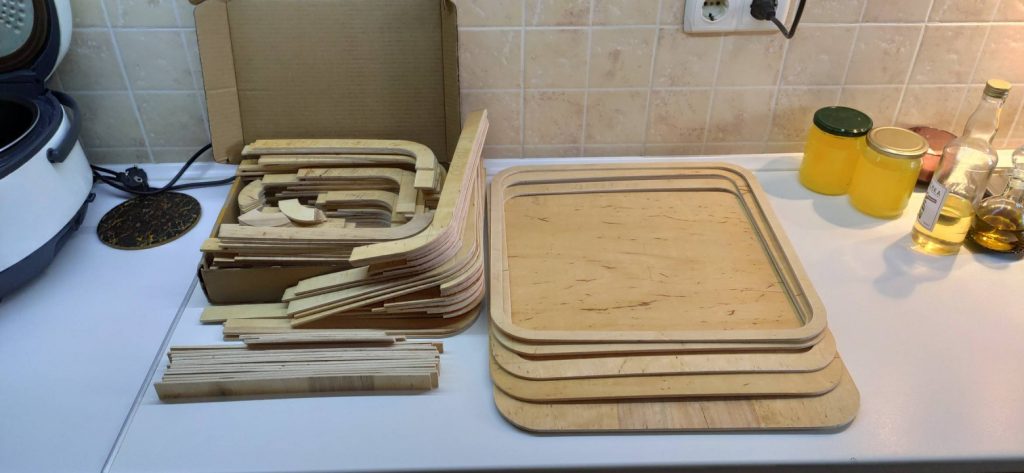
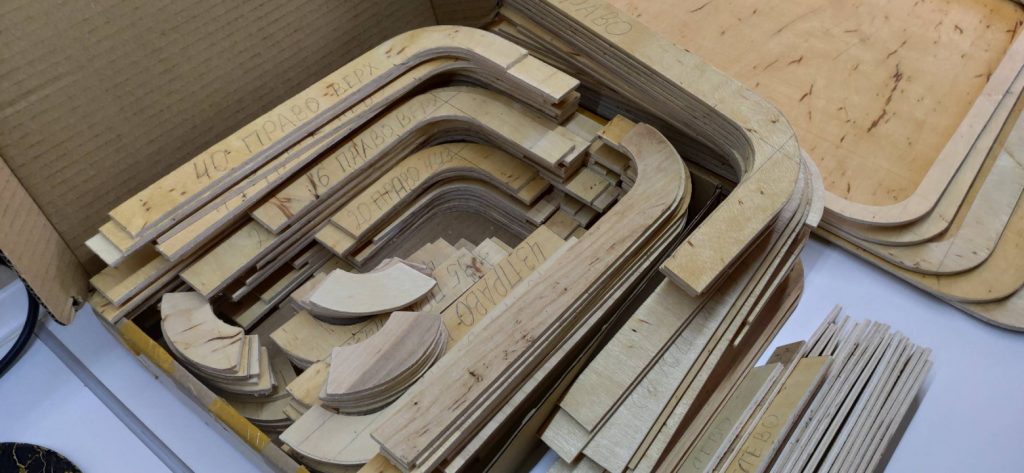
Now, I had to glue and put all the parts together. Again, I regretted rejecting a thicker plywood sheet. Thin parts were constantly twisting and losing their shape. Sometimes, I had to tighten large elements with screws. I must confess that it was hard. Despite all those difficulties, I managed to get an almost ideal geometry for the case.
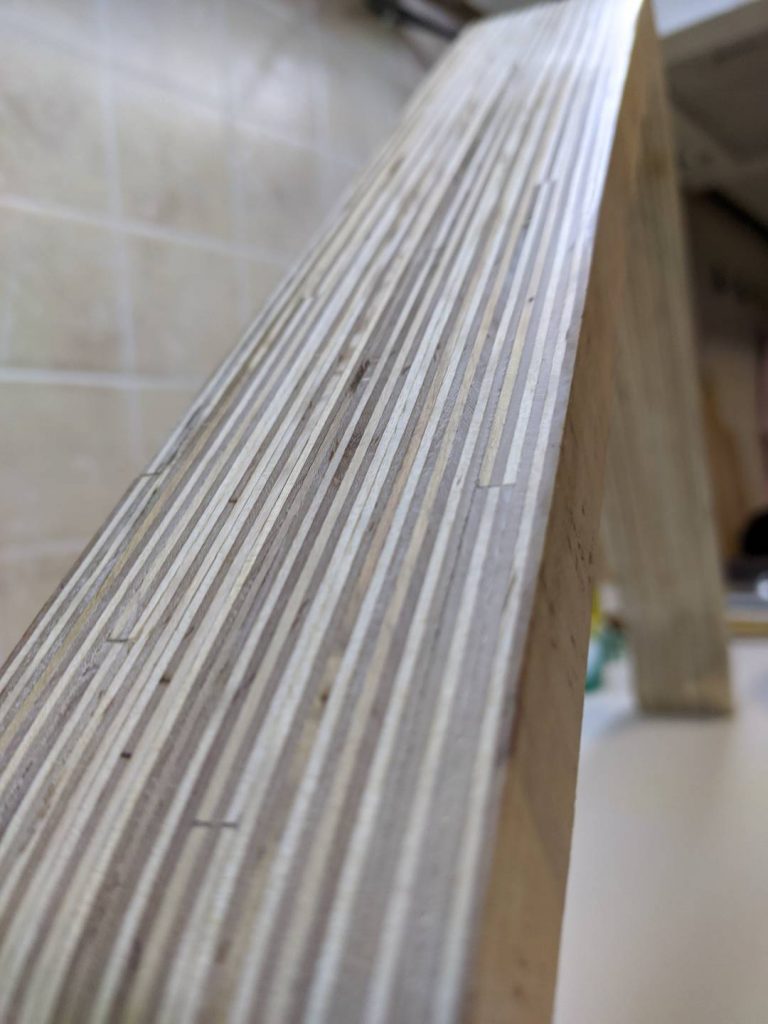
Time to sand! I used a sander to smooth the outside and hand-sanded the inside of the case.
Next, I needed to make a side panel to serve as a viewing window into the case. Initially, I thought of using tempered glass and asked a friend for help. But it turned out that making the holes where I wanted them was impossible. He explained that the tempered glass would break if I drilled the holes close to the edge. So I had to abandon the original plan and make the panel out of plexiglass.
Almost done
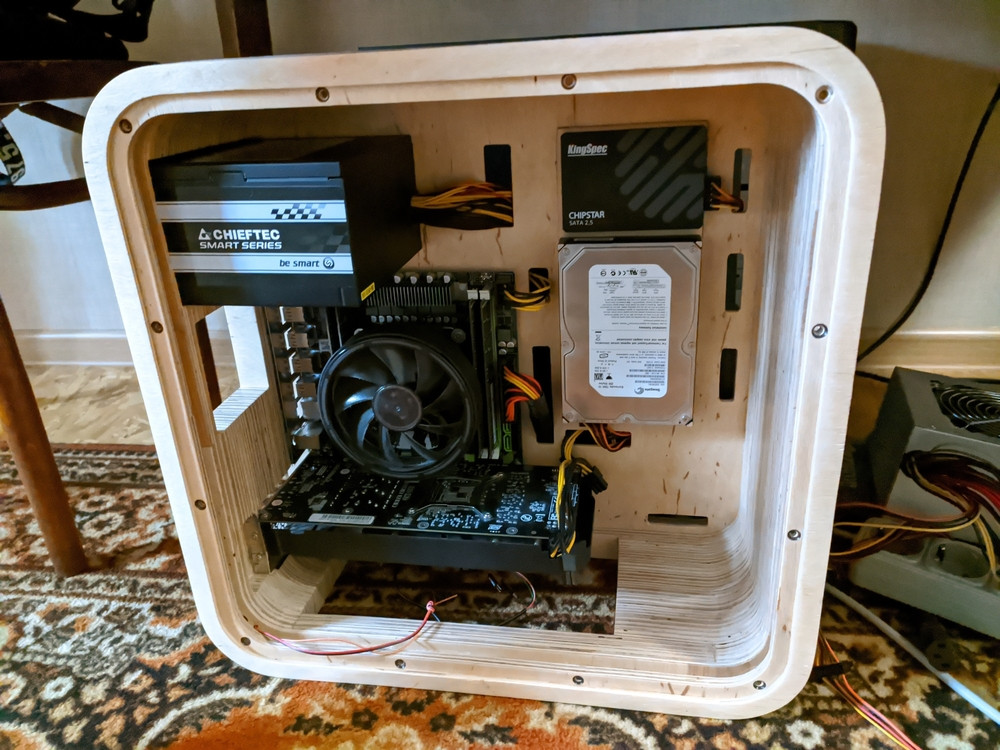
It was time to install the PC components in their places. Fortunately, everything fit almost perfectly at this point. I only had to widen the cooler and some other holes a bit.
After finishing, I coated the case with four coats of semi-matt lacquer, screwed on the rubber feet, and made a seat for the power supply unit.
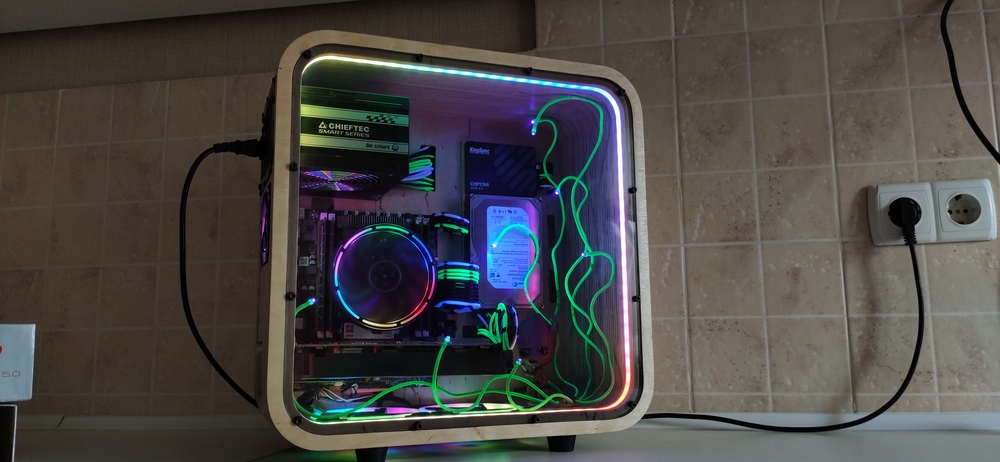
Finally, I ran the RGB lights through a special slot and installed a Bluetooth module on the back to control the lights from a smartphone. I also installed a similar RGB light on the coolers and added a module in the PCI slot to remotely turn the computer on and off. But of course, there is also a power button on the back of the computer, too.
Final decorations
Technically, everything was ready. But I was too enthusiastic to stop, so I decided to cover the power cable with a UV sleeving.
![]()
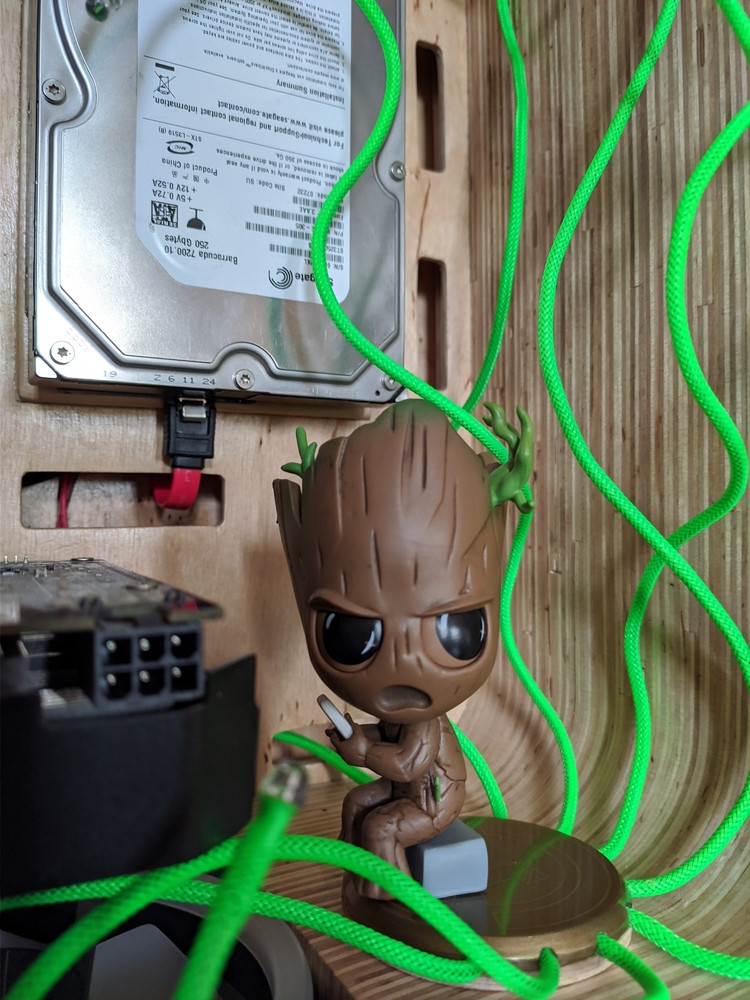
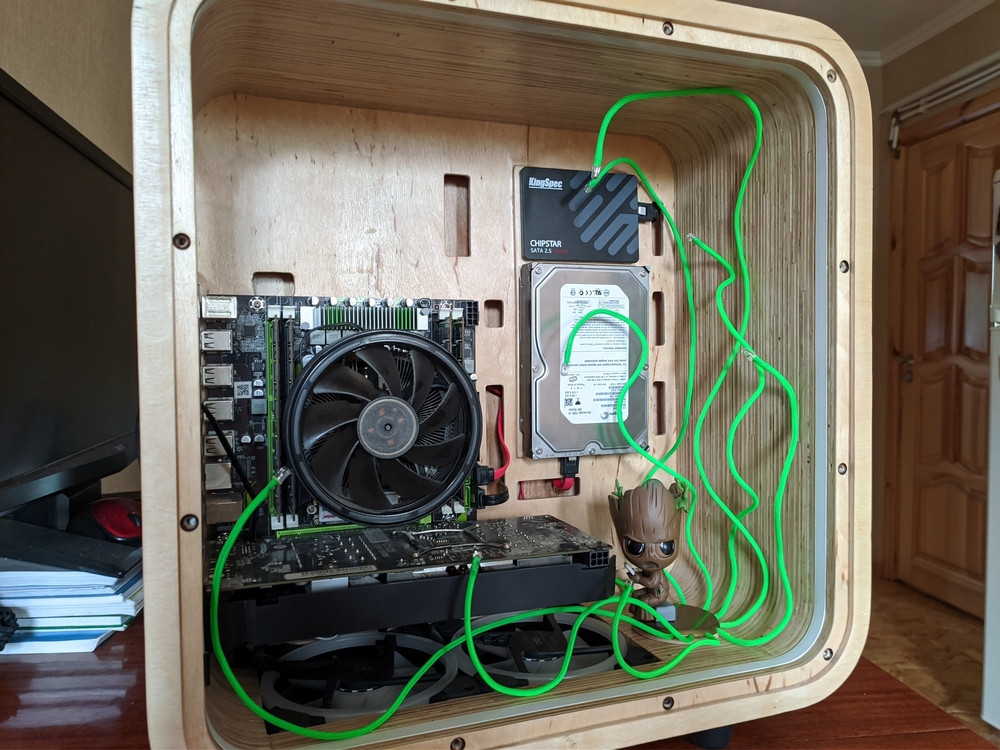
I wanted to arrange all the wires in a fancy way. And the idea of Groot with his roots crawling all over the case struck me. After three days of googling, I found an awesome figurine — young Groot sitting on a stone and playing Xbox. And all this beauty was on a pedestal that could house all the extra wires.
Wrapping up
It took me almost eight months to finish this computer case. I worked only on weekends and holidays. In addition, I often had to wait for the parts I ordered on Aliexpress: the modder cable, the backlight, the figure, and some other things.
This was my first attempt. It was quite a challenge, but it was worth it. Despite the challenges, I really enjoyed making a computer case with my hands and would love to do something like this again. But next time, I’d prefer to do it for the money. So, if you want something exclusive, DM me on Instagram.
See also:
Introduction To Retro Design: Chip Off the Old Block


