Animation adds dynamics and variety to the design.
Designers often animate details in their projects, such as icons, navigation, character images, and more. In this tutorial, we make an animated illustration from a static one using After Effects.
Let’s arrange our image. First of all, divide the picture into layers.
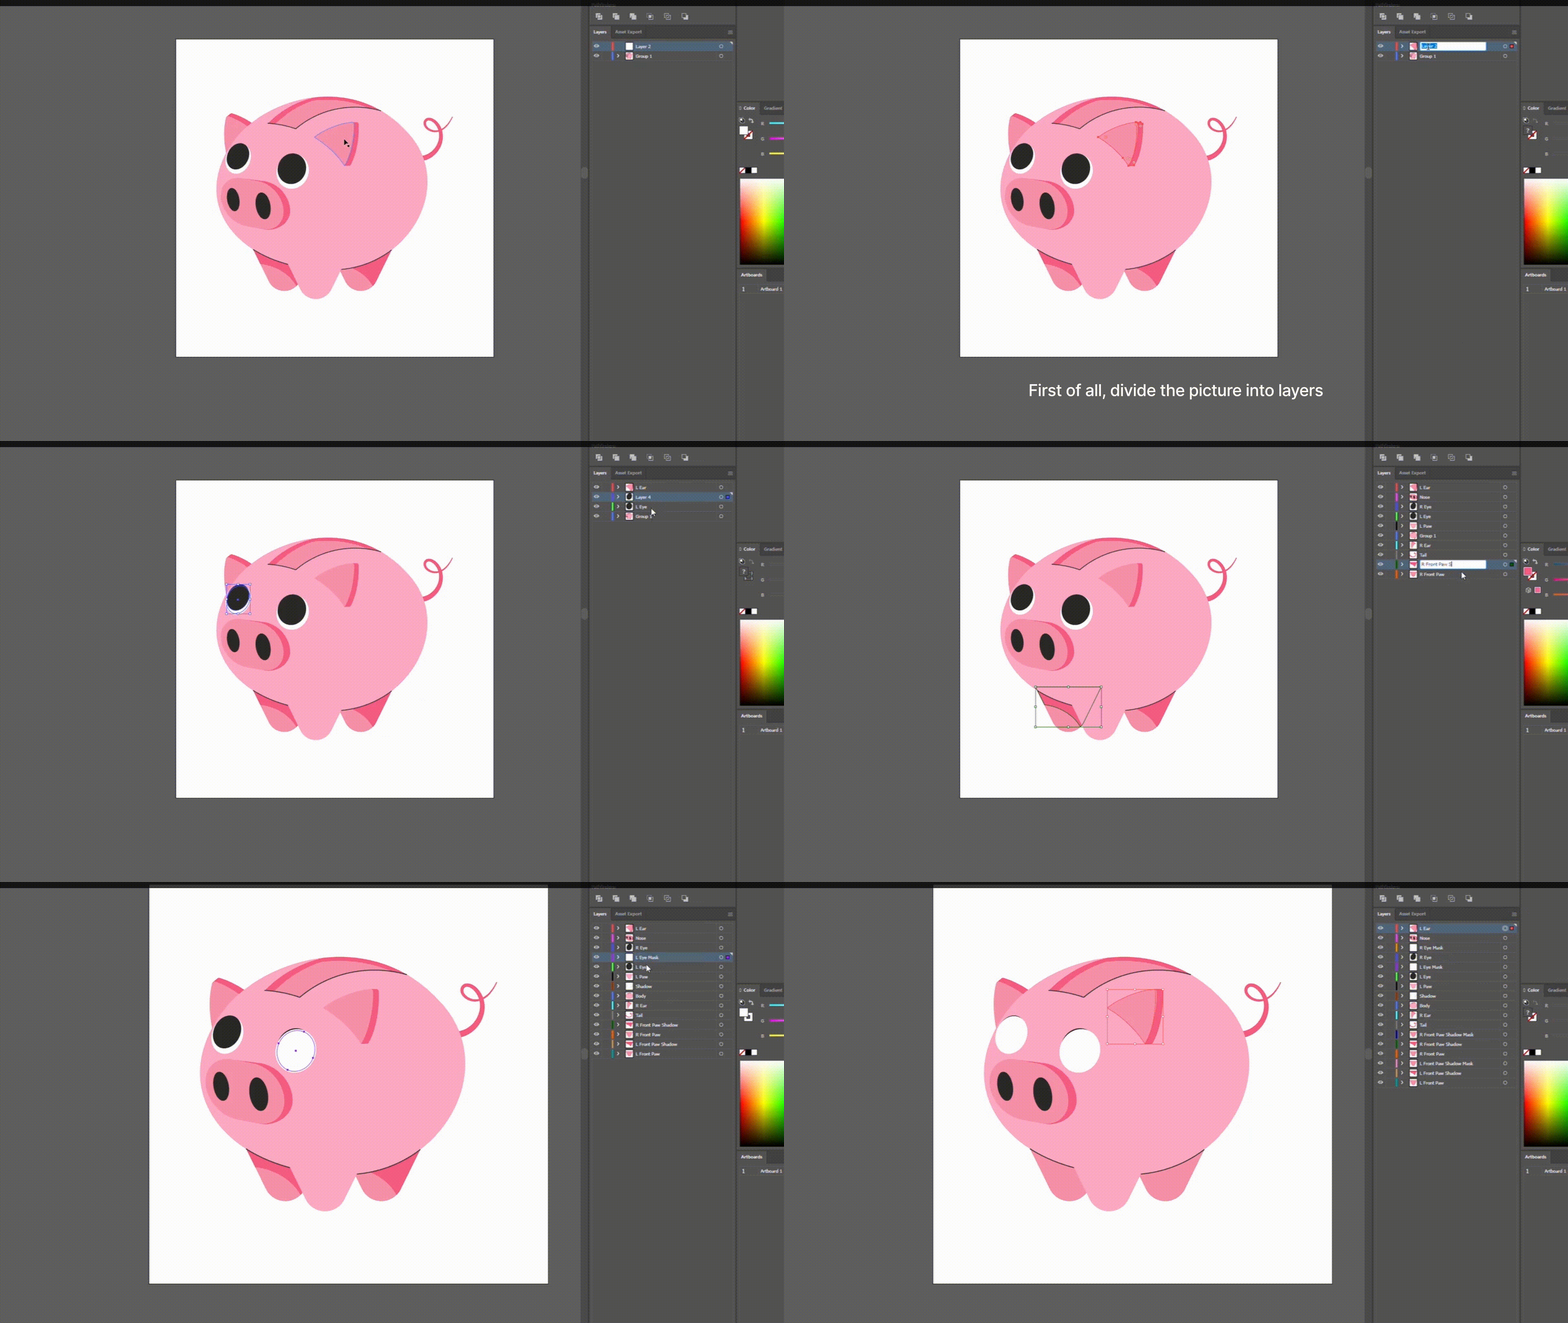
Open the file with layers in After Effect. Prepare the face of our piggy for animation.
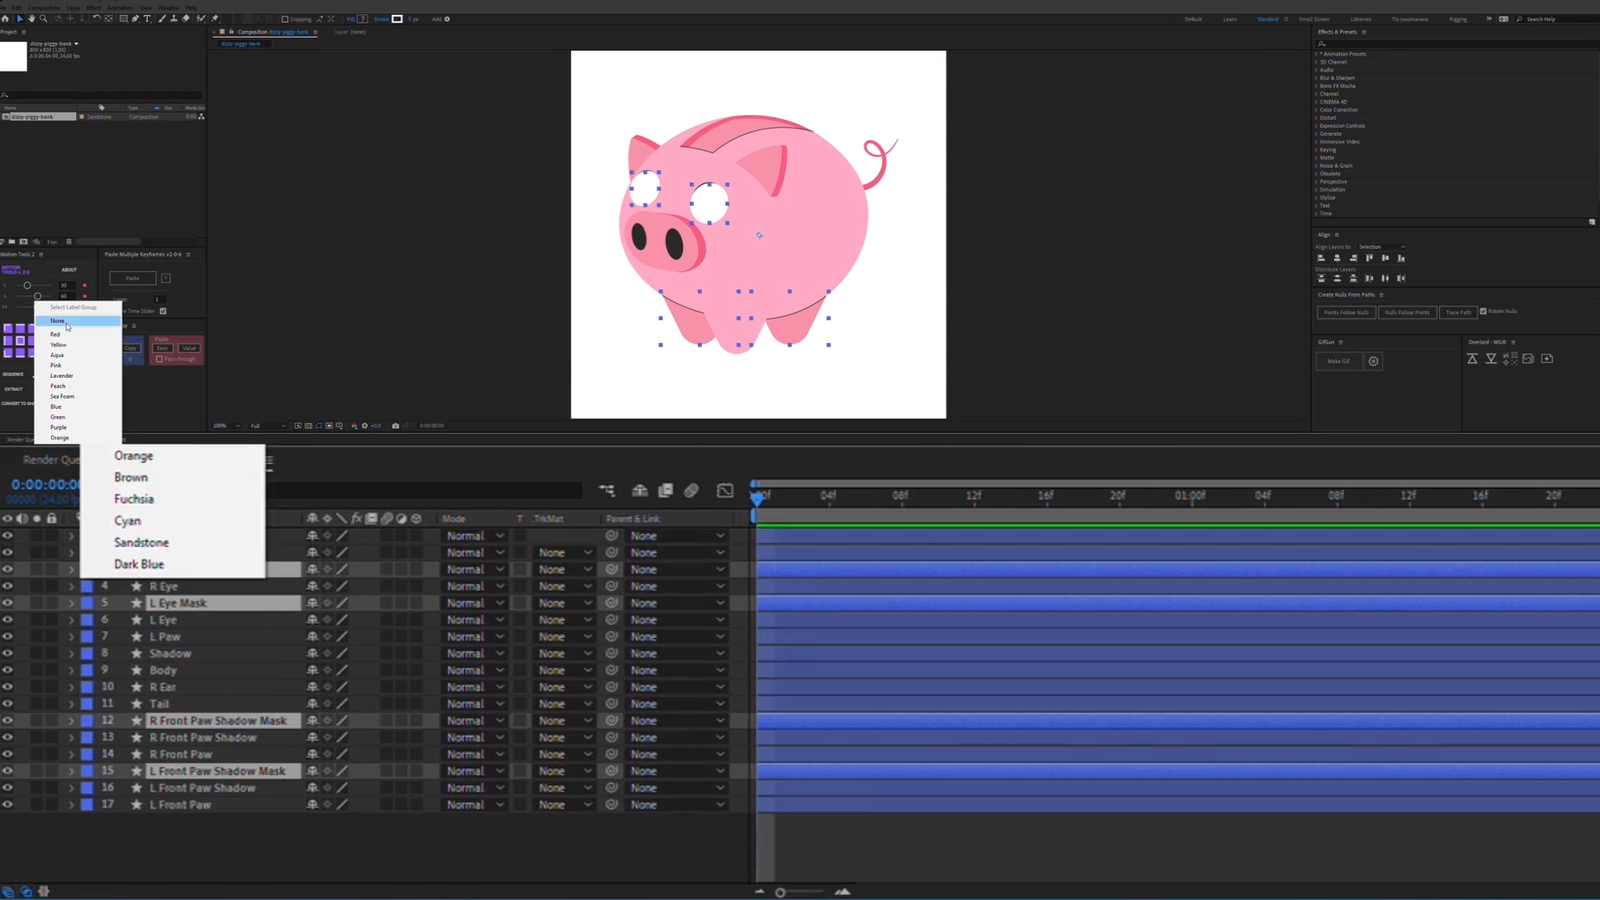
Now we make Alfa Mate masks for the eyes.
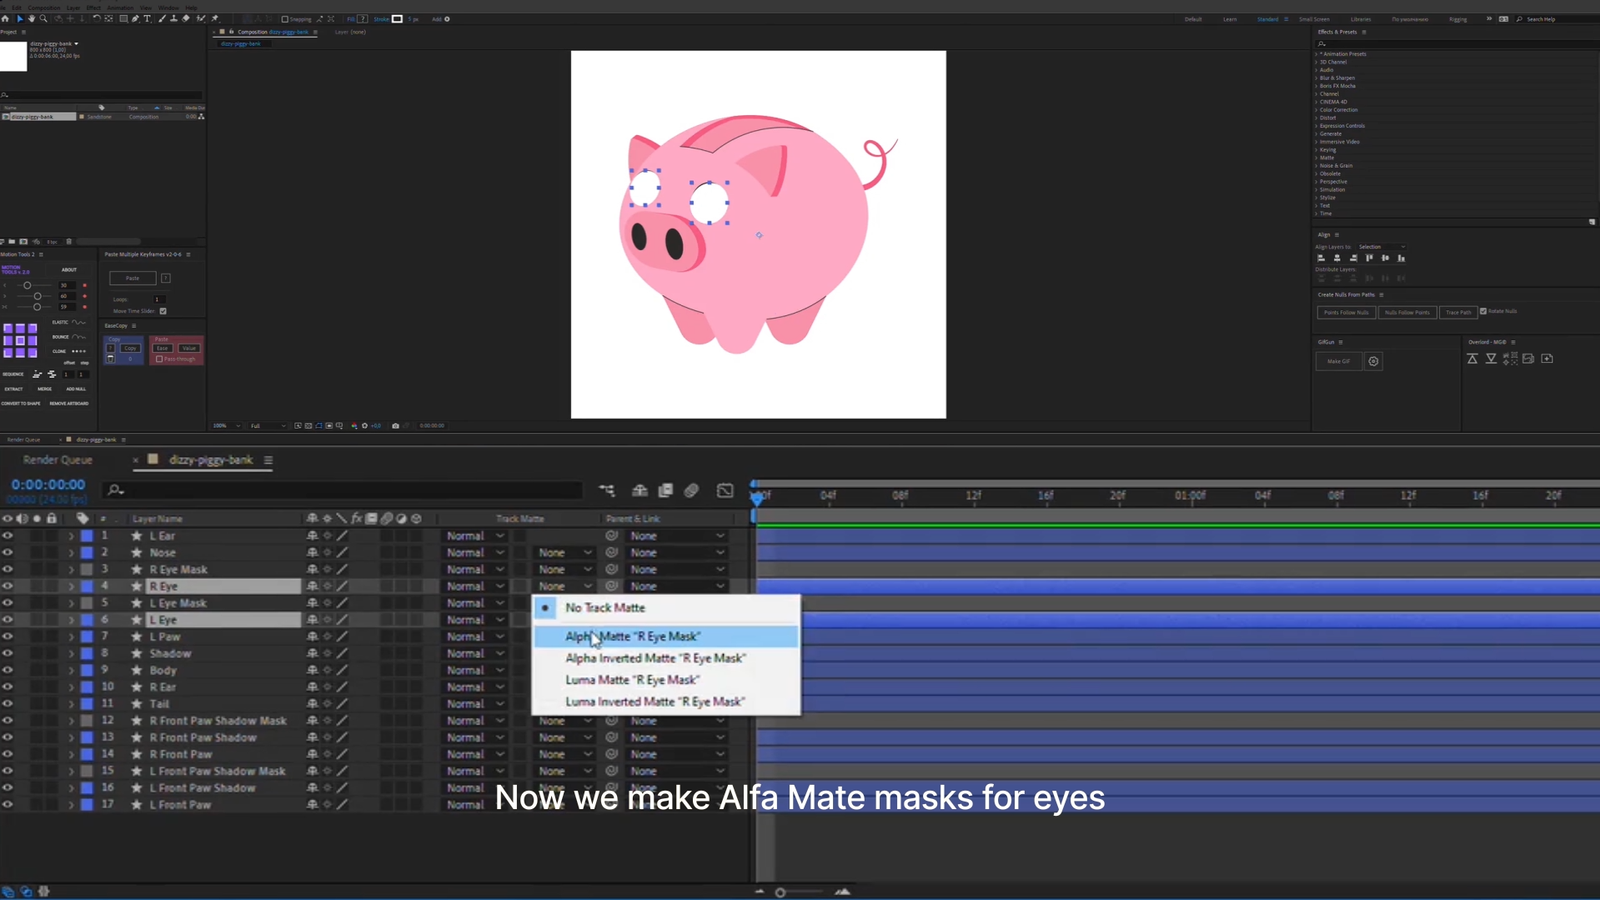
Create a Null Object and attach the eyes, nose, and ears to it.
Bind the Null object to the body layer.
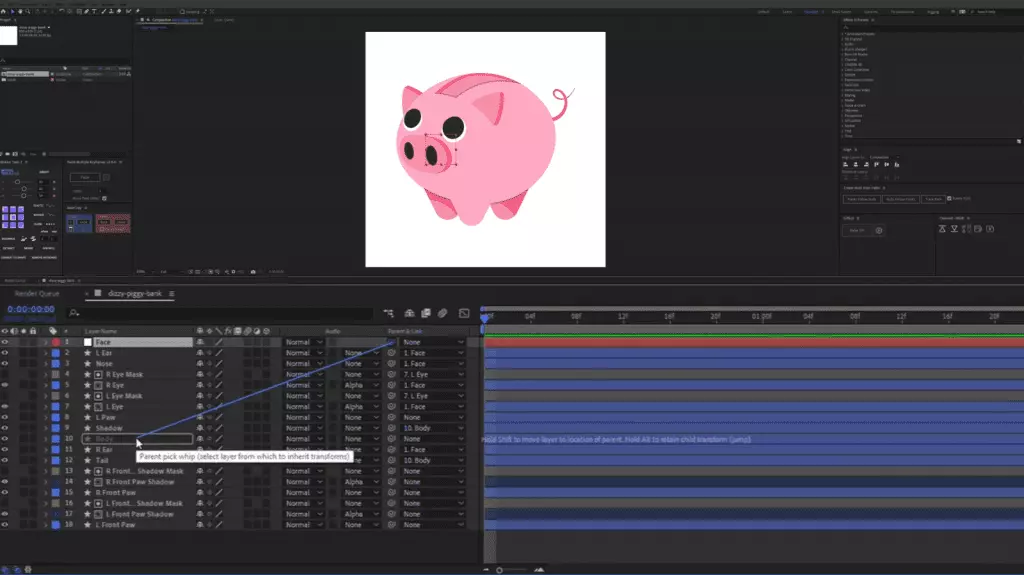
Then, animate the body by position.
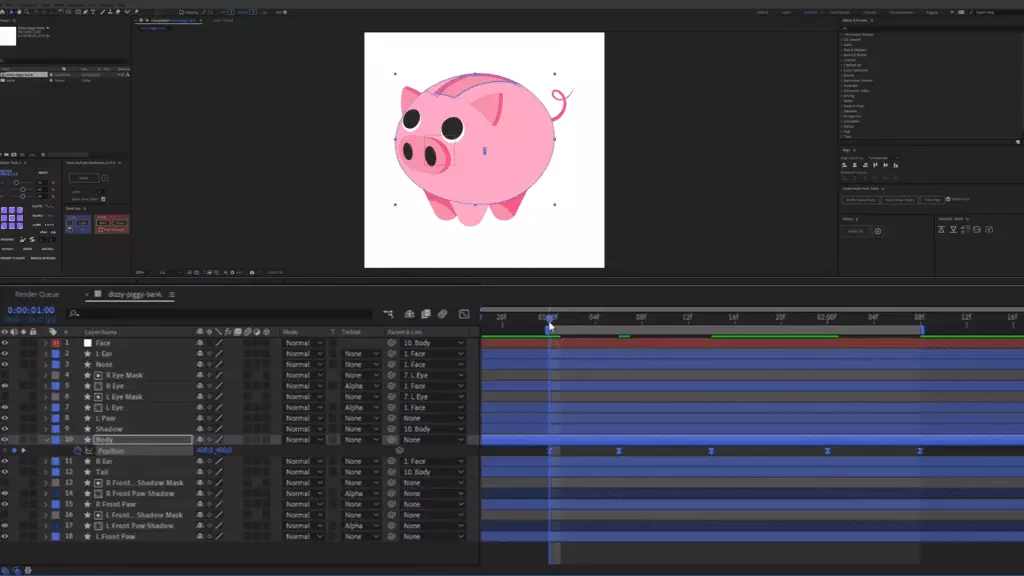
Align the Anchor points of all layers to how they will be animated.
Animate the face by position using a Null Object.
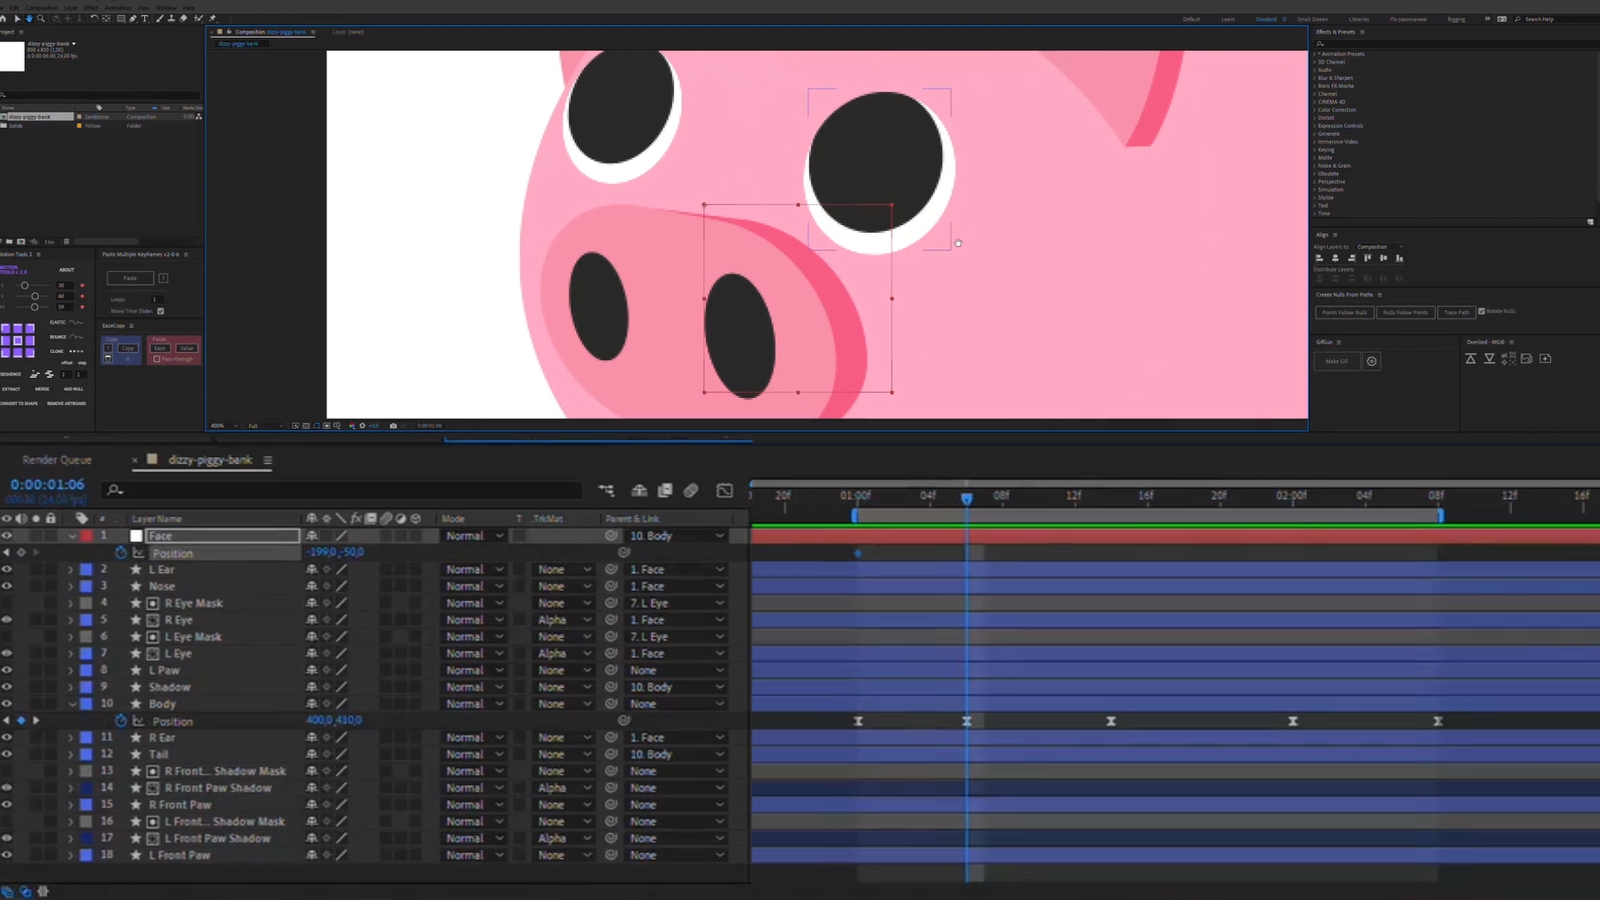
Move the nose a little.
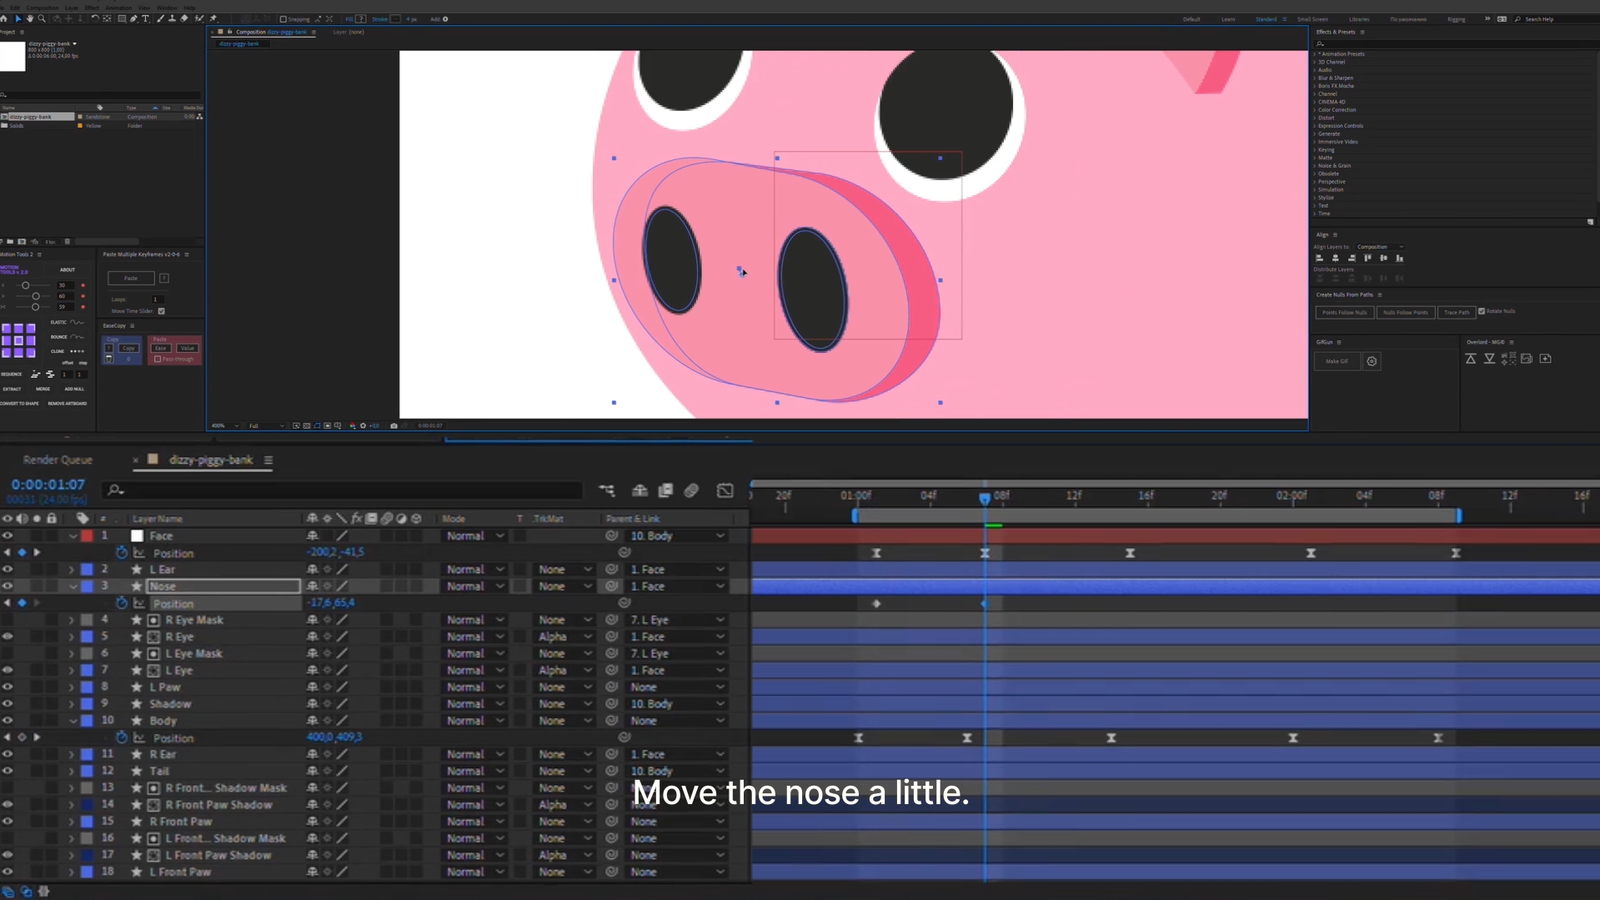
Now is the time to make it blink. Open the Path setting of the eye layers and edit their shapes.
Move the pupils by position.
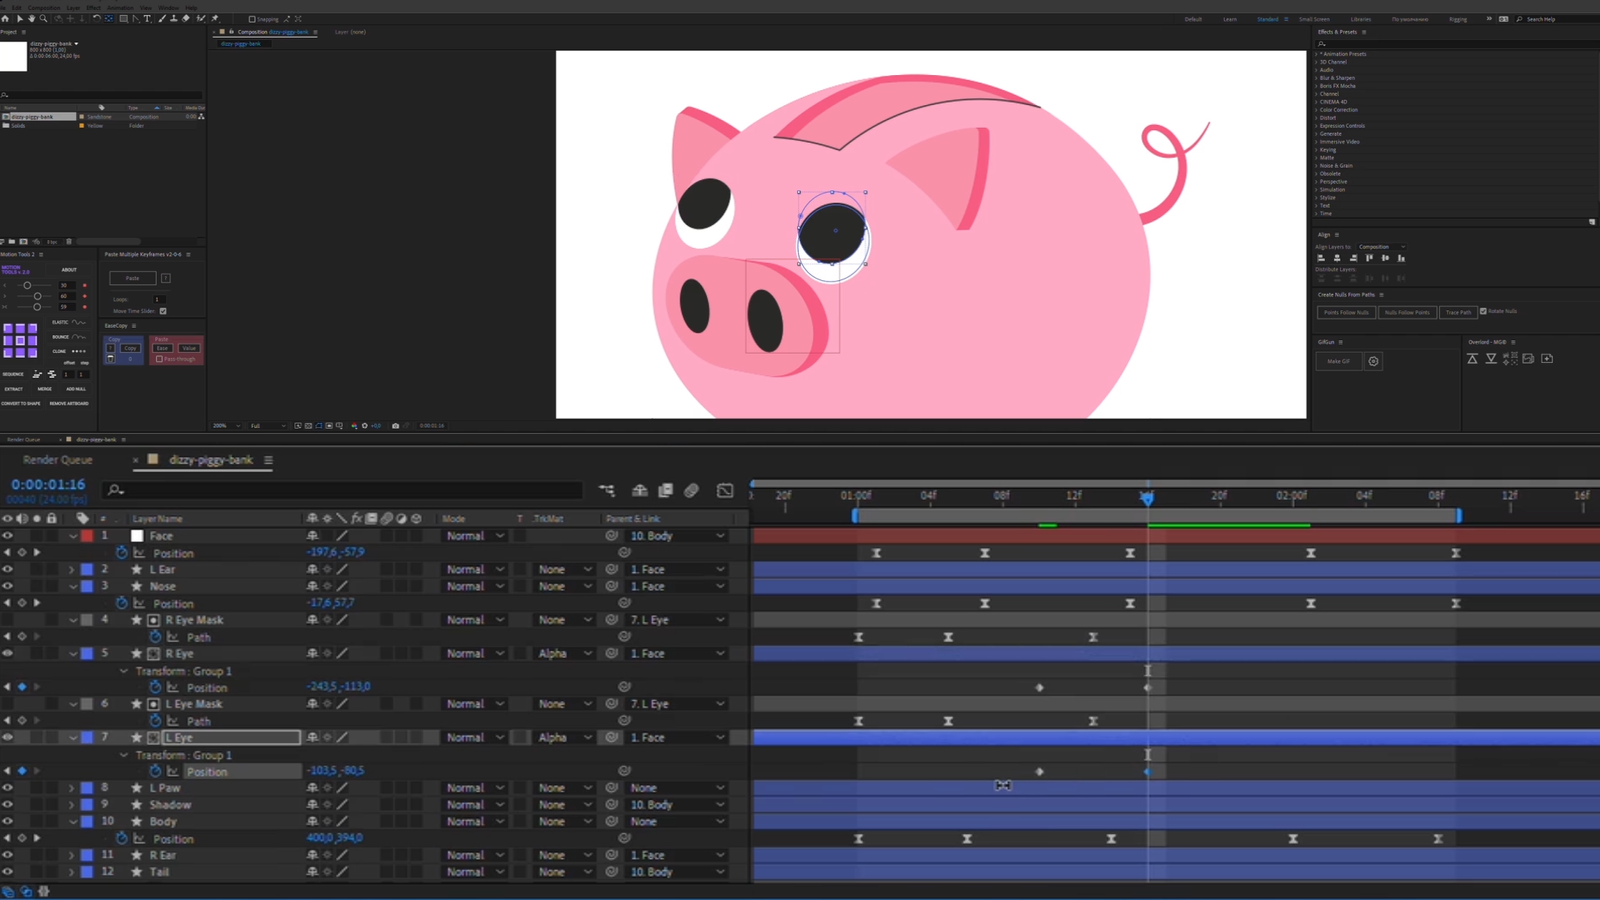
Next, we animate the legs. When the piggy sits down – the legs should move apart a little.
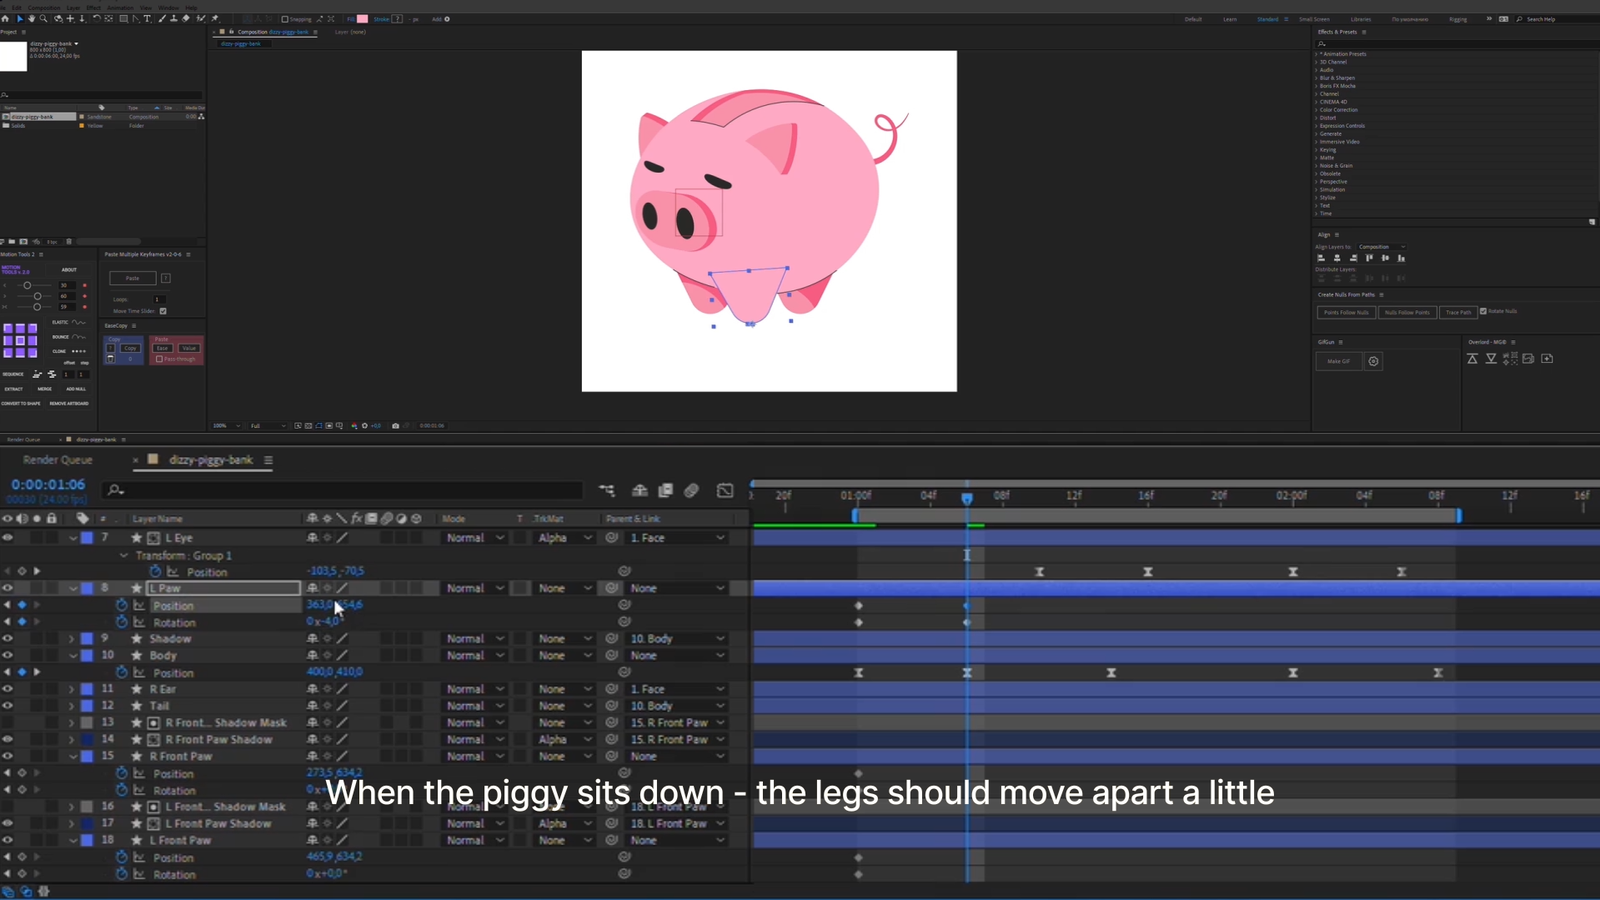
Animate the position and rotation of the legs.
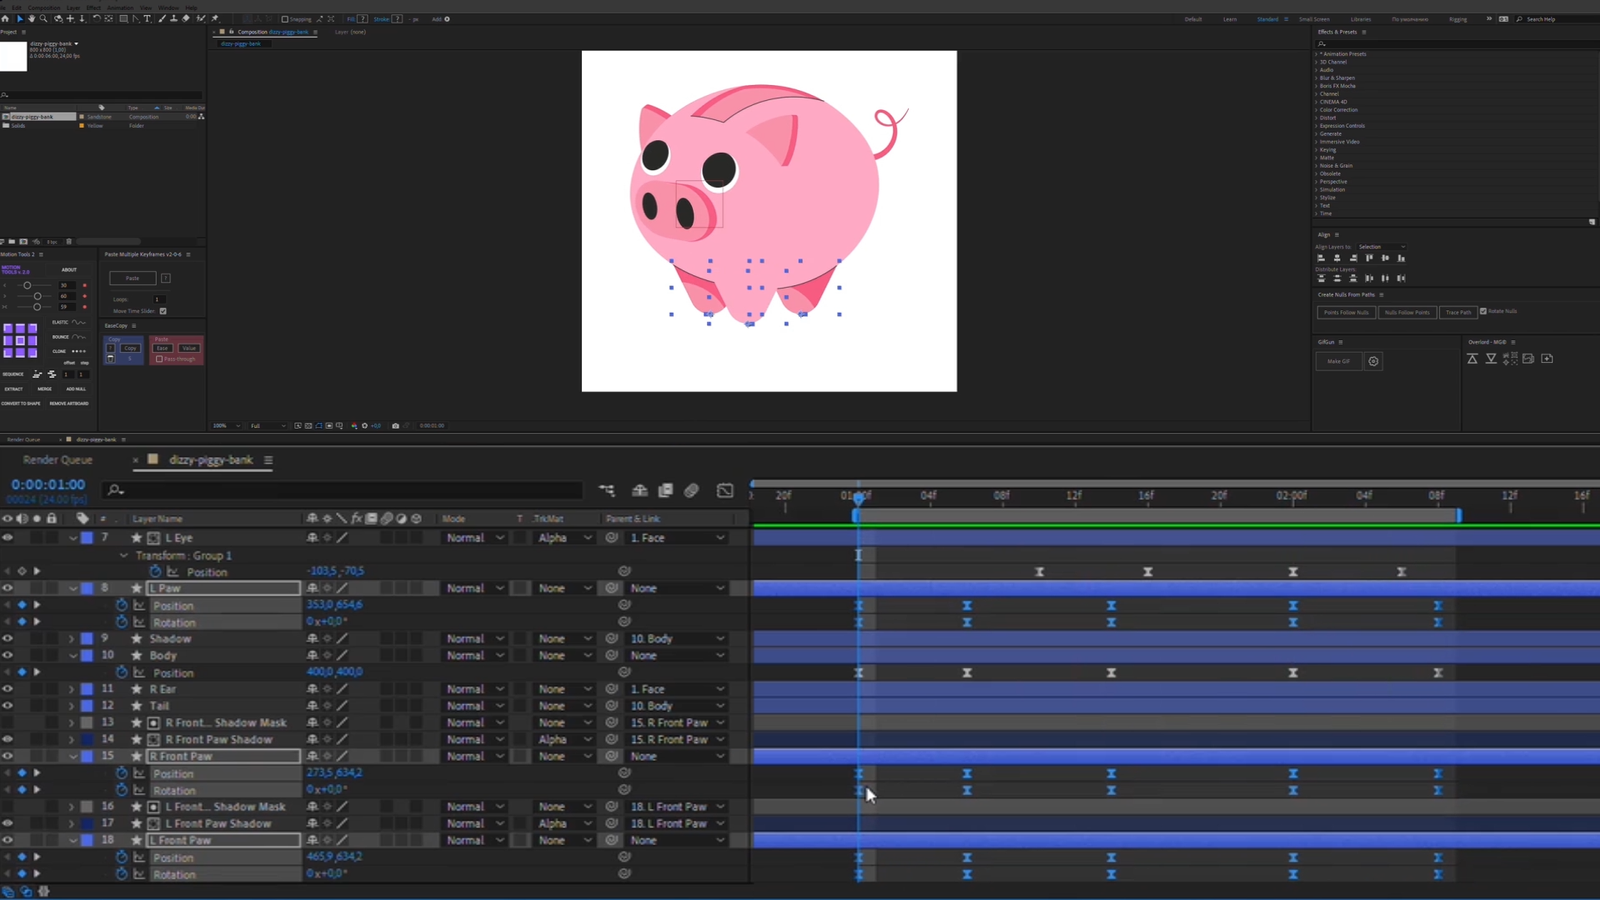
The shadows on the legs should move too.
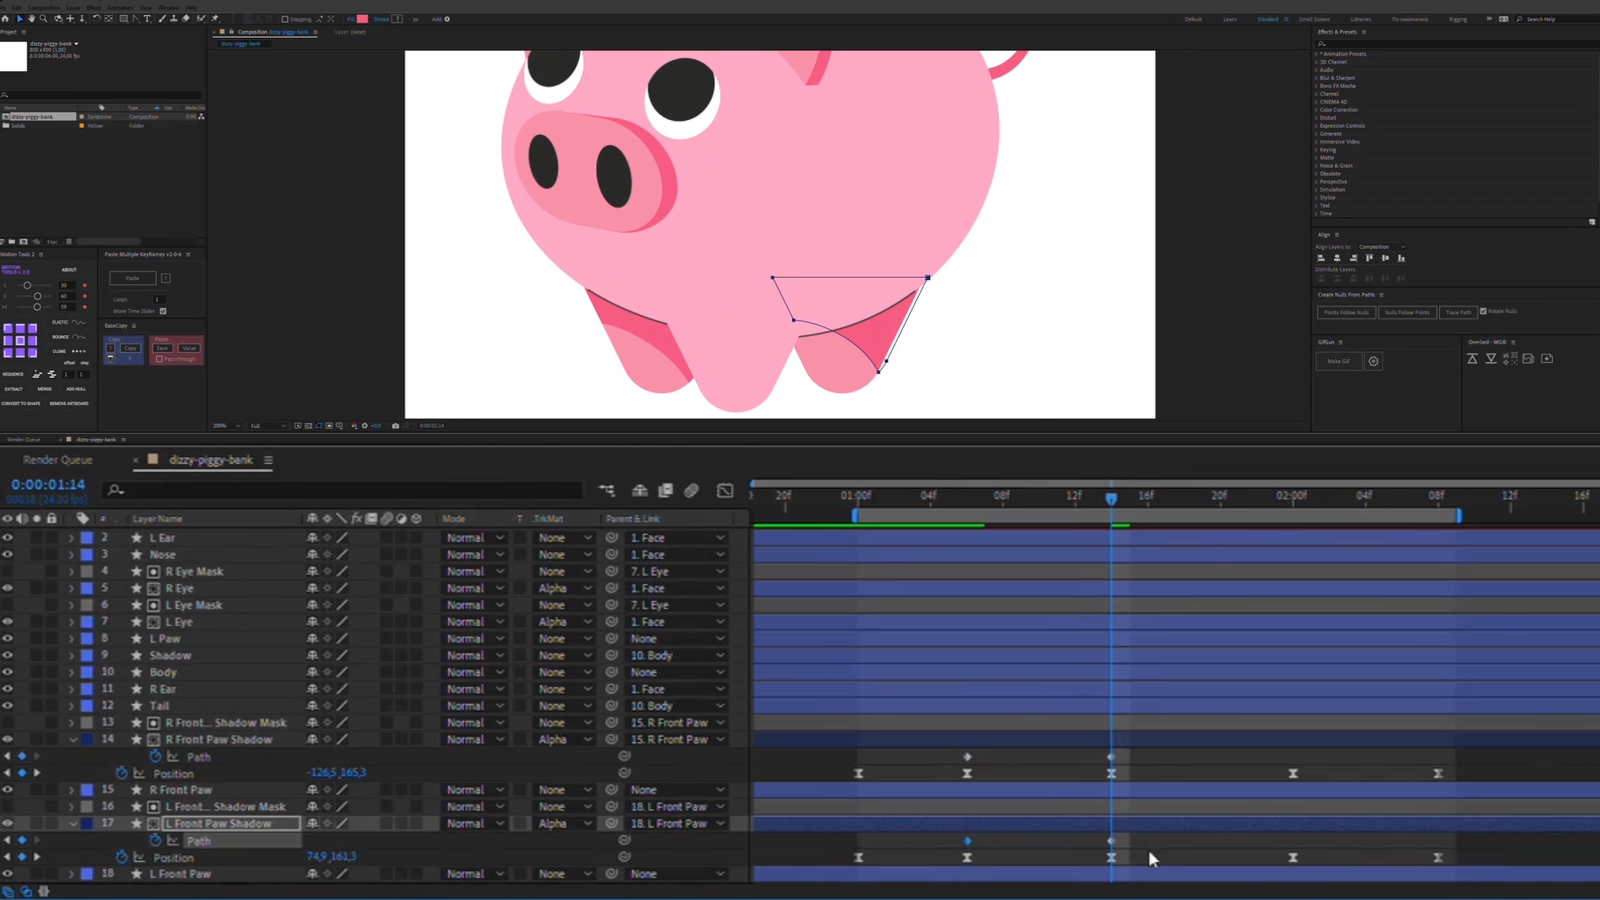
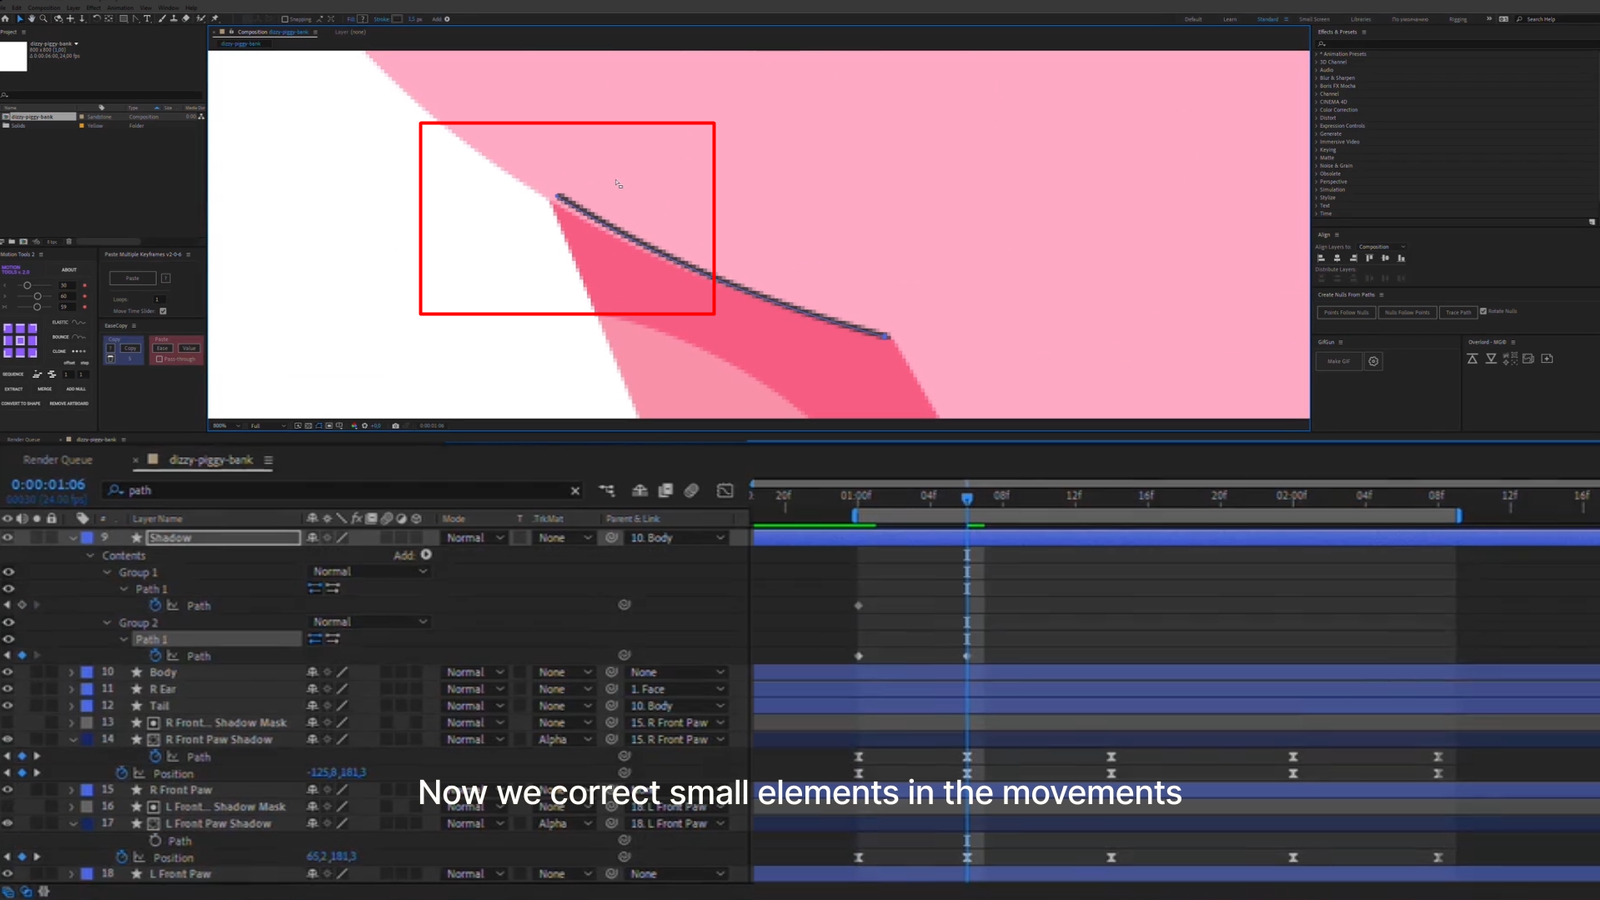
Now we correct small elements in the movements.
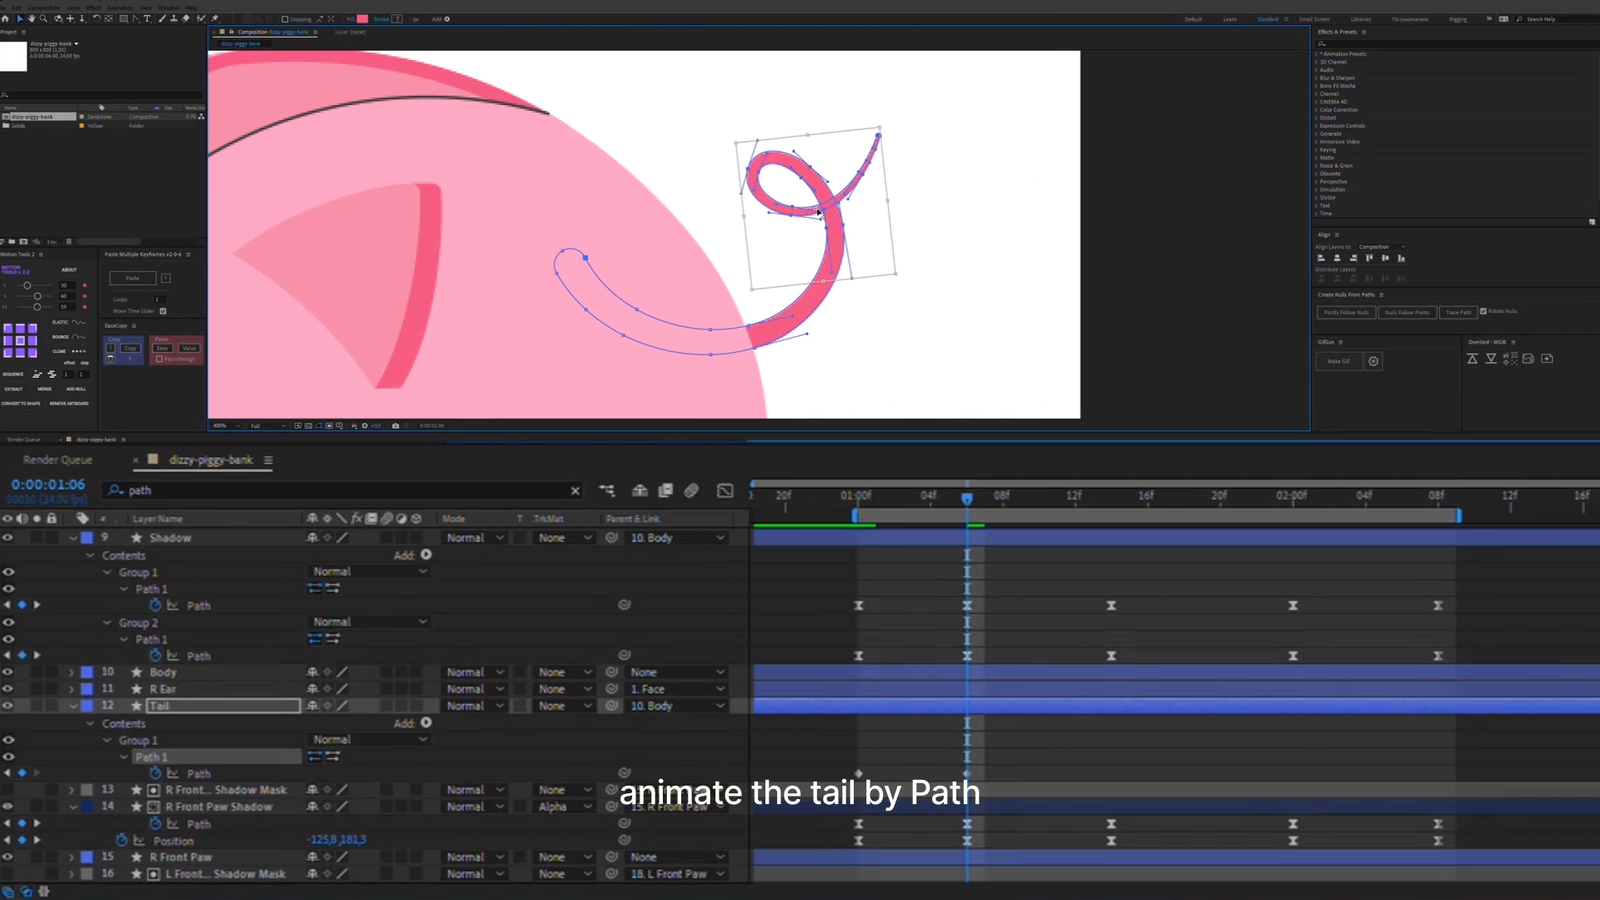
Then, animate the tail by Path.
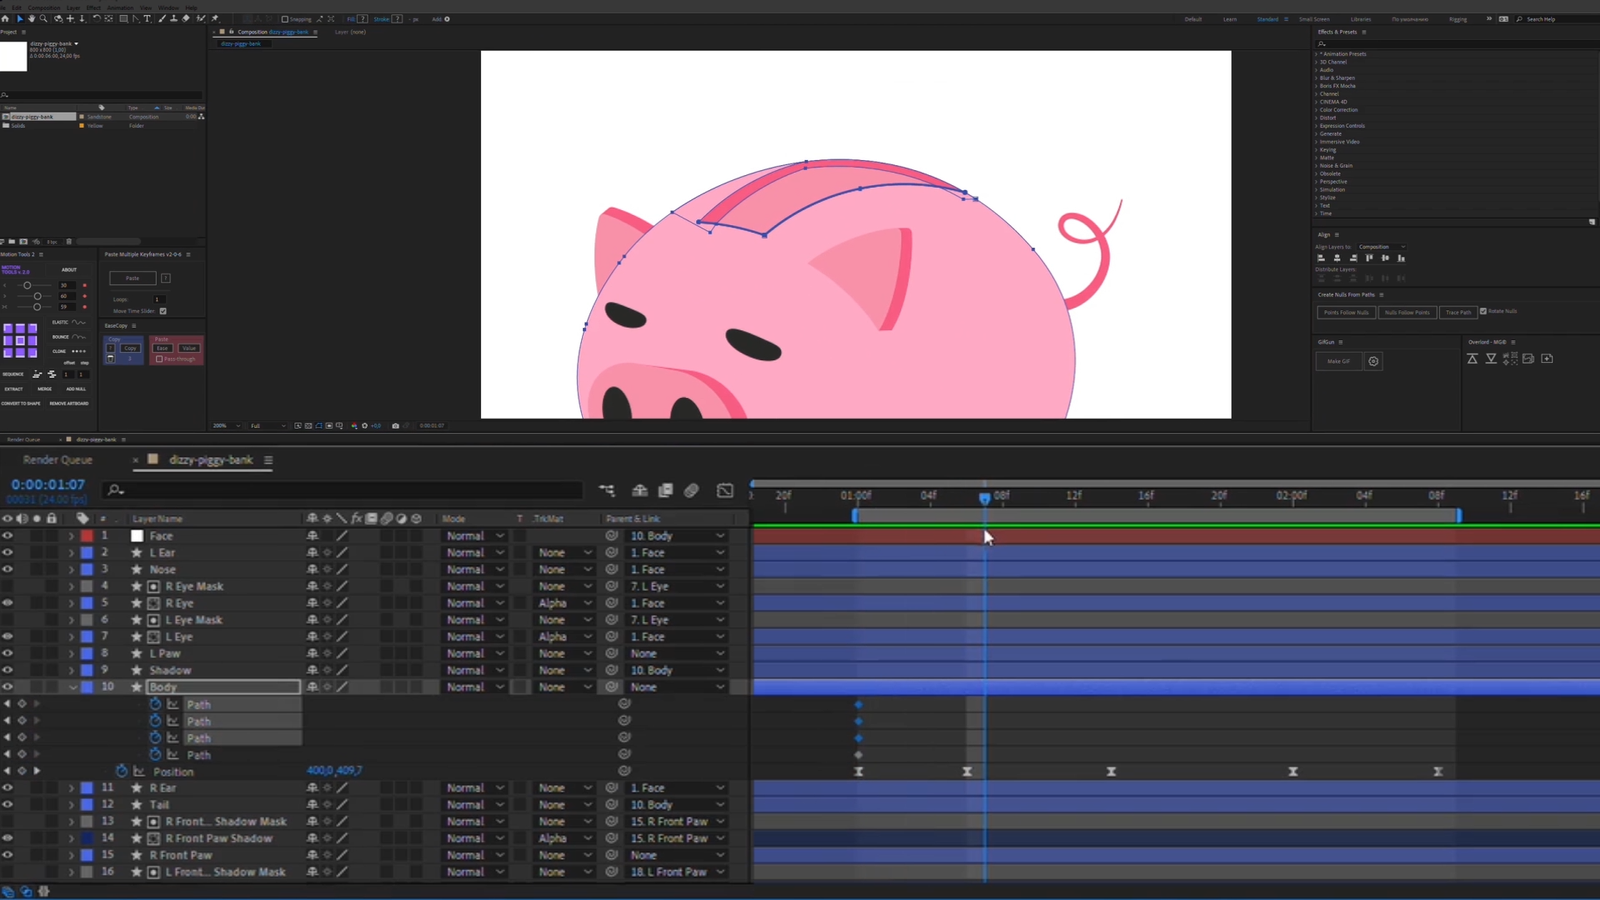
And finally, animate the back the same way.
Done!
Now add the illustration to your project and let it catch users’ attention.
Check out our other After Effect tutorials to improve your workflow: