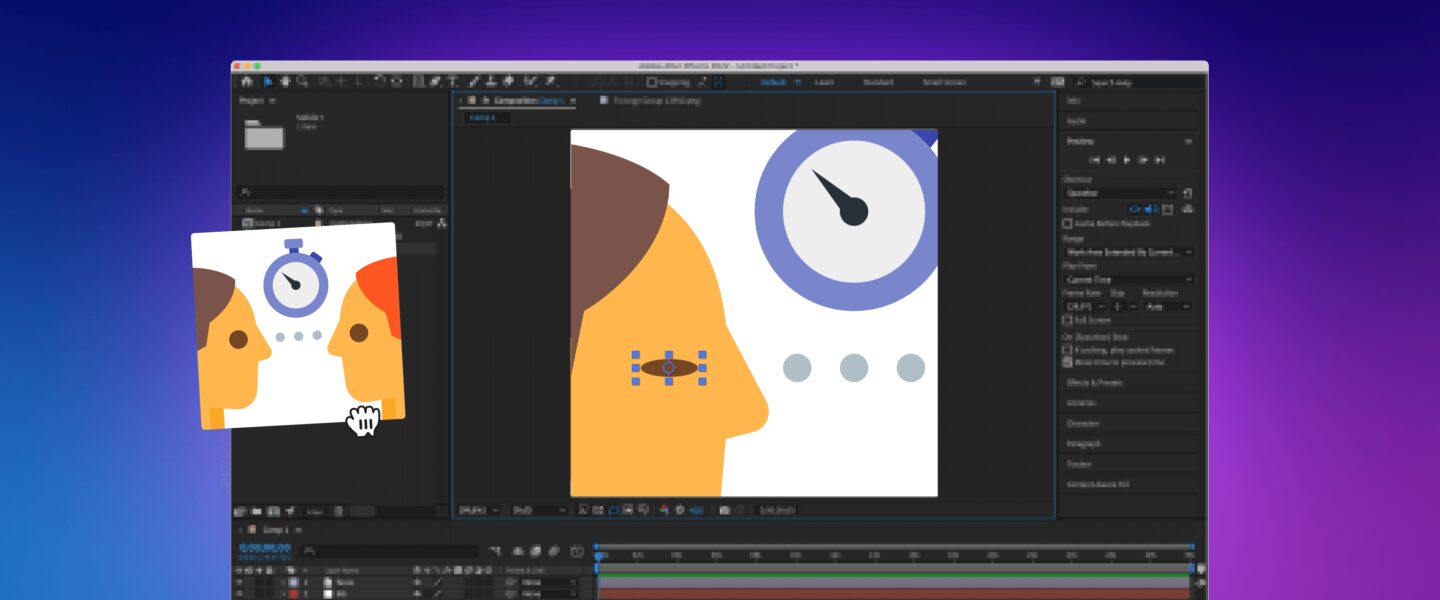
Learn the basics of animation in Adobe After Effects. We will make an eye in a static image blink in a few easy-to-follow steps.
You’ll be able to use this technique to create other simple animations.
You can watch this video or follow the step-by-step guide below.
For this tutorial, we used the Staring Contest icon. However, you can use any similar image of your own.
What we’re going to do, is to replace the eye of the guy on the left with an animated shape. We’ll hide the existing eye later. Now we need it only as a reference: to mark the center for the new shape.
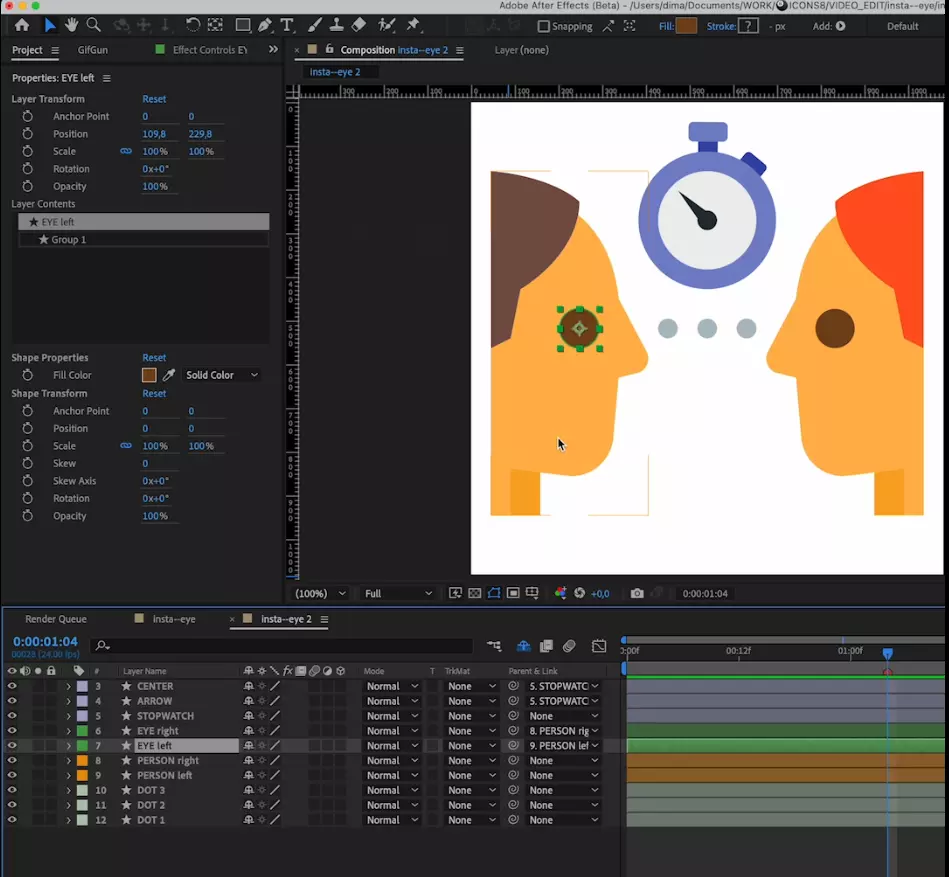
Set the guides in the center of the eye.

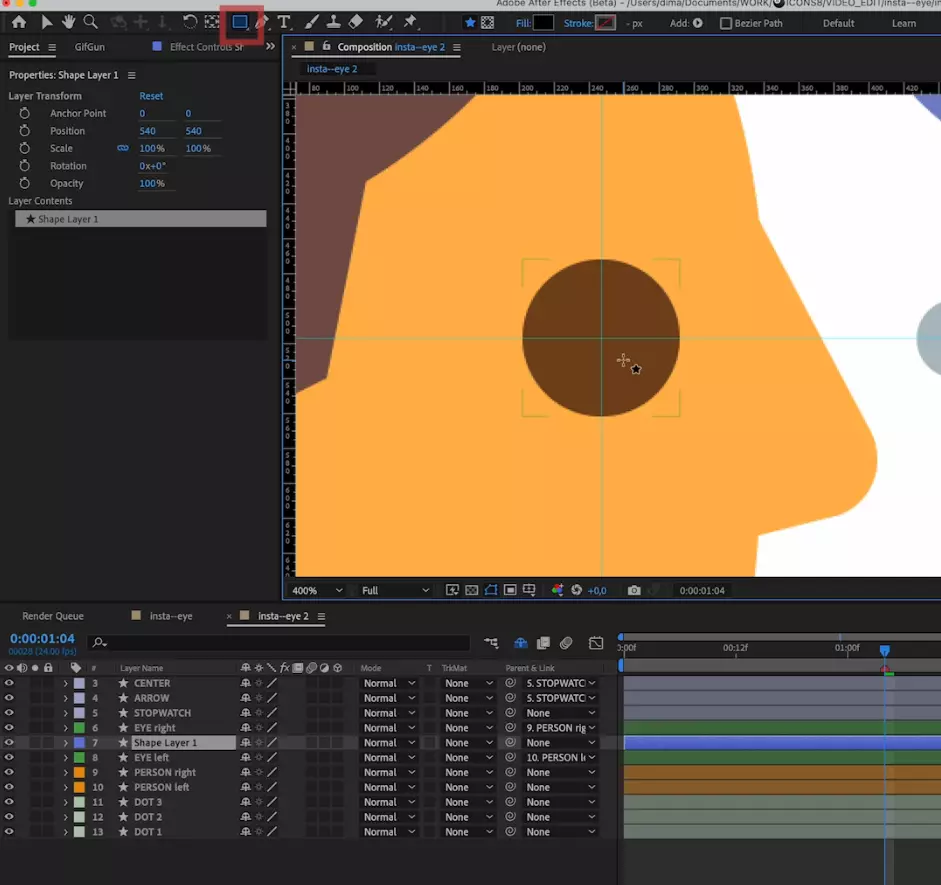
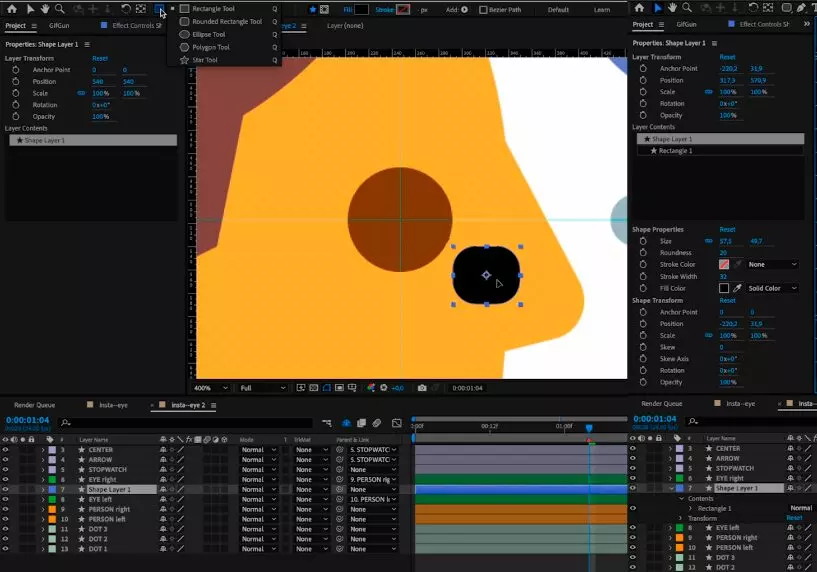
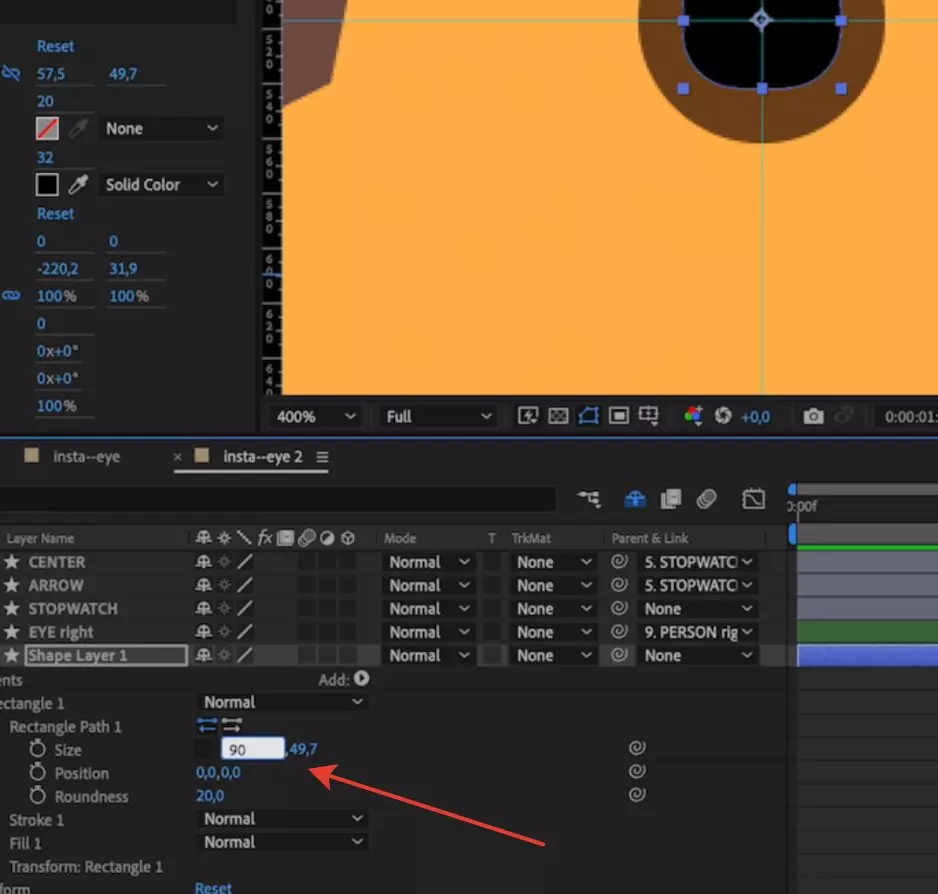
Enable the Rounded Rectangle tool, draw a shape, and place it where it is meant to be.
Adjust the properties of the rectangle to make it round and of the same size and color as the original eye. Now you can hide or delete the original eye. We no longer need it.
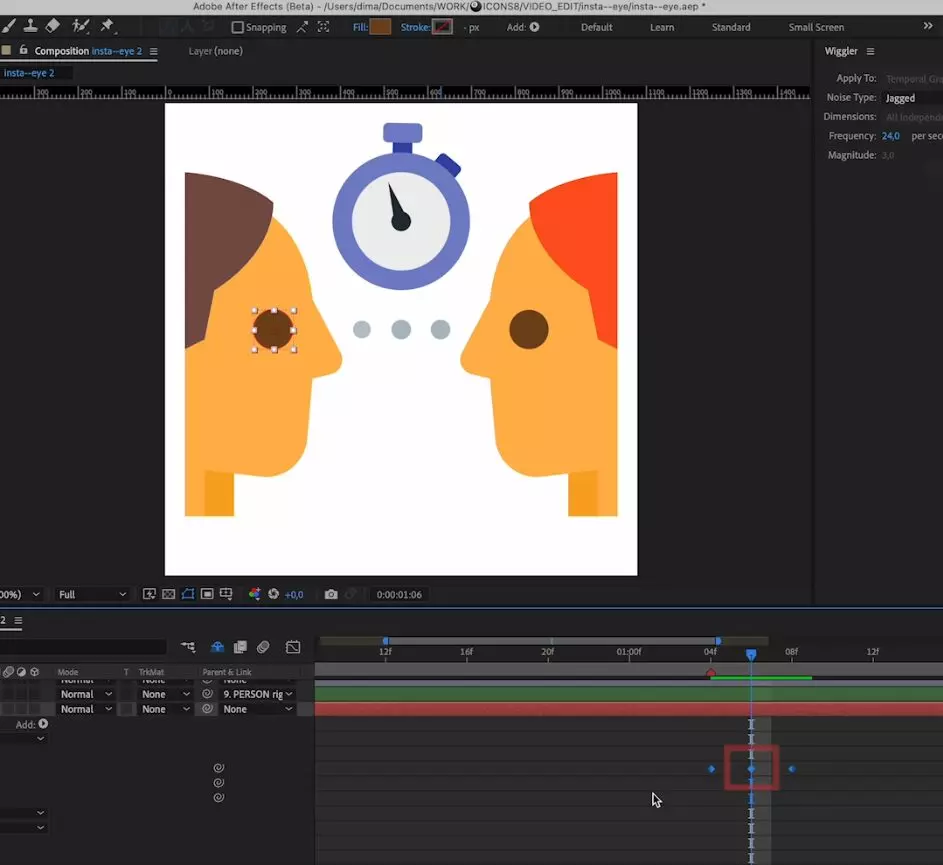
With the new eye selected, set three keyframes on the timeline.
Select the second keyframe and adjust the eye size to make it half-closed.
So, we’ve got three keyframes with the eye open, half-closed, and open again.
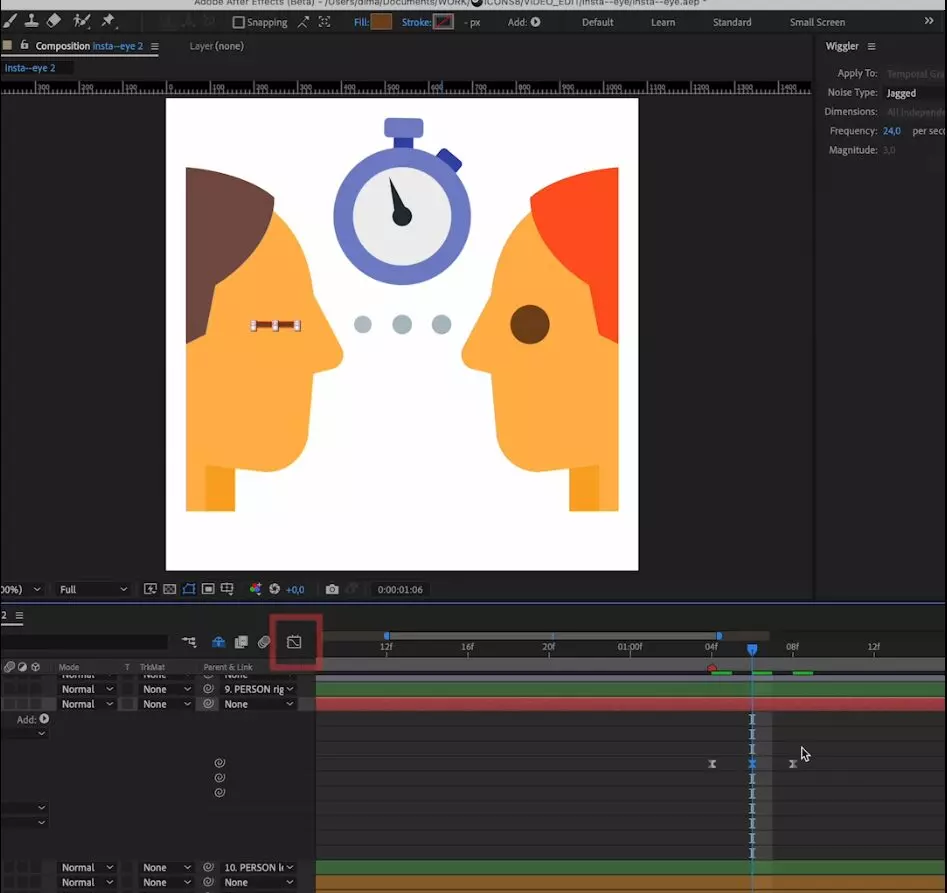
Now, open the speed graph using the button shown in the figure below.
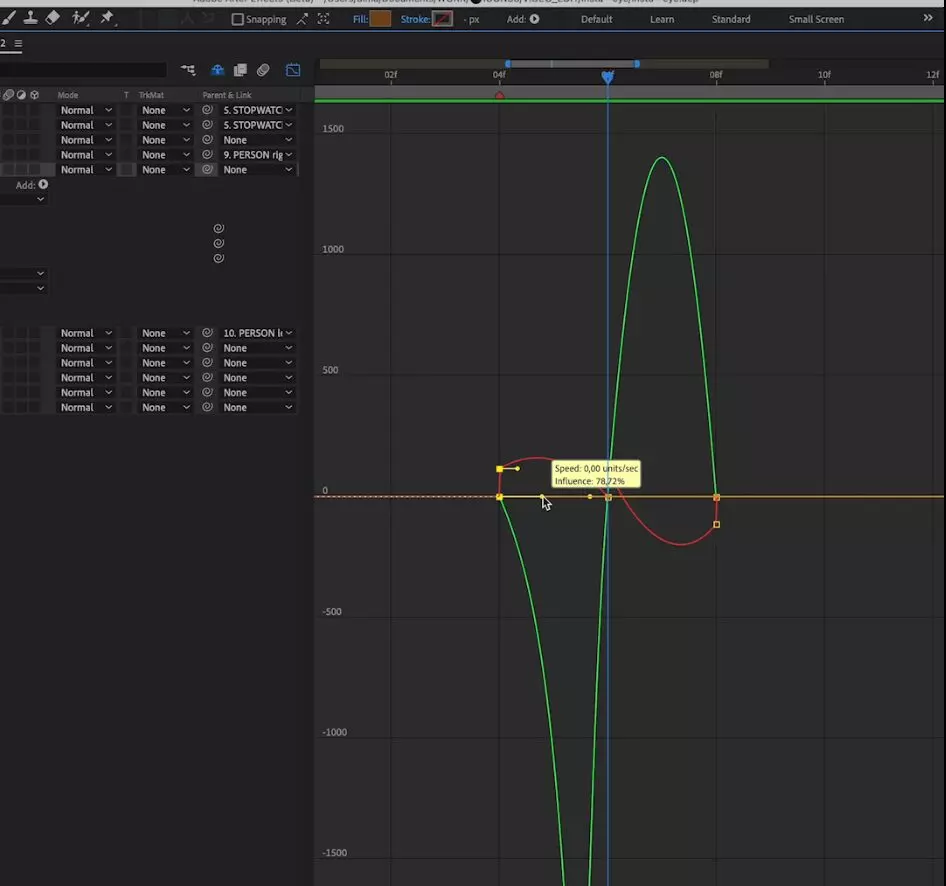
Play around with the speed graph to make the animation more realistic until you get the desired result. Our graph looked like this.
That’s it. Your blinking eye is ready to go.
See also: